Mounting and Testing Your Paperclip Antenna
Now let’s take this baby out for a spin!
1.
After you have soldered
the pigtail to the antenna and secured it with tape, connect the
pigtail to your wireless card.
2.
Mount the antenna and try
it out.
3.
If you have glued a
clothespin or clamp to the wooden platform, you can clip it to
various objects, so that the
antenna itself is either vertically or horizontally polarized.
4.
Position and aim the
antenna in search of the strongest signal.
5.
Observe (and learn about)
the link quality differences with the antenna in each
position.
Wireless networking software should come with
some program or component used to measure signal strength on
your computer. In Windows XP, the Wireless Network Connection
Status dialog displays a Signal Strength bar graph. The more
green bars that light up in the display, the stronger the
signal.
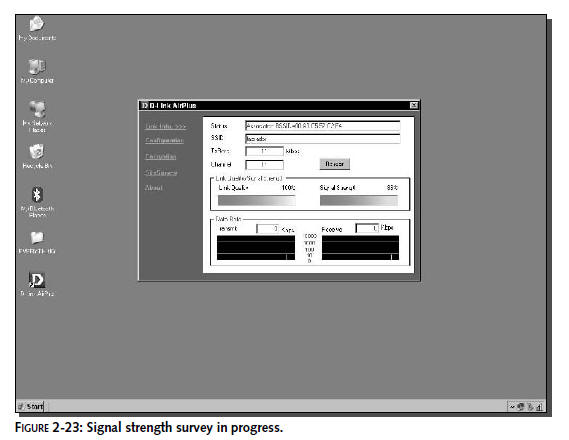
You can also use the software that came with the
wireless adapter. This software will have some form of signal
strength meter. Figure 2-23 shows the signal strength meter for
an Engenius Wi-Fi adapter. Use your “signal strength meter” to
see what happens to the signal strength as you vary where the
antenna is positioned and how it is oriented. You can adjust and
re-orient the antenna for the best connection.
Other software can be used to measure signal strength.
See Chapter 6 for details on using NetStumbler as a signal
measurement tool.
Hitting the Road with Your Paperclip Antenna
Paperclip antennas are the ultimate cheap tool
for connecting to Wi-Fi signals. They’re not the most efficient,
but they might be the most fun. Your new, lightweight,
budget-conscious paperclip antenna will expand the receptivity
of the antenna that comes with your wireless network adapter. As
noted in the beginning of this chapter, you can expect a gain of
up to 9 dBi, which is probably two to three times better than
your laptop card.
With this type of antenna, your laptop should
work better in fringe coverage areas. You can probably use your
laptop an additional 100 to 200 feet from the wireless access
point. Experiment with this new range by taking your laptop to a
part of your network that doesn’t usually have good signal
quality. Attach your new paperclip Yagi and see how the signal
strength changes. By pointing away from the access point, it
should go down. Also, you can hold the antenna sideways or
upright to change antenna polarization. This simple act can
change your signal strength by 20 percent or more.
Summary
You now have a nice little gadget that will
boost your Wi-Fi signal when the wimpy internal antenna just
won’t bring in the signal. By walking around with your new
antenna, you should be starting to understand how radio waves
move through the air. You saw that just by rotating the antenna
from horizontal to vertical and pointing it in different
directions drastically affects the signal strength.
By creating this simple antenna, you have
entered the realm of microwave RF engineering. The device you
built in this chapter would have been unthinkable a short time
ago when these microwave radio frequencies were reserved for
military and scientific use. Read on to the next chapter.We
expand on the concept of homebrew by introducing the waveguide
antenna—a very powerful, highly focused antenna that can be
built using an empty coffee can and some ingenuity. (Plus
knowing where to drill!)