Choosing the Parts
The most time-consuming part of building your
outdoor AP is getting all the parts together. The actual
assembly takes less than two hours once you have everything in
one place.
There are no special tools required. A drill,
some drill bits, a small handsaw, and a pair of pliers or wrench
to tighten everything onto the pole should be enough. You may be
surprised to find that the access point is less than half the
total cost. Although most parts cost about $20, there’re a few
of them and they add up fast. The antenna is more expensive and
may cost up to $100 depending on your requirements.
Research carefully and plan ahead to save on
shipping costs. For example, the antenna, pigtail, and lightning
protector are all specialized items. Buying all of these online
at the same time from a single vendor may be cheaper than paying
the best price plus shipping from three different suppliers.
Let’s take a look at each of these items in detail.
Access Point
The most important element is the access point.
It is best (and cheapest) to choose an 802.11b based device for
outdoor use rather than the newer 802.11a and 802.11g equipment.
The range is better and there are more equipment choices. The
exact type of access point you choose isn’t critical as long as:
It
has a removable antenna (many do not)
You
can find (or build) a matching PoE adapter, as discussed later
in the chapter
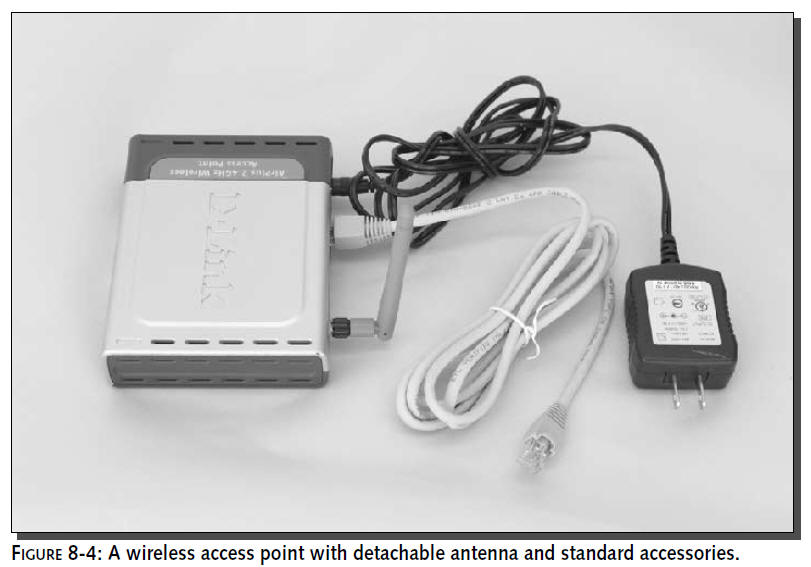
The D-Link DWL-900AP
is the device used
in this chapter and shown in examples.
However there are many manufacturers of this
type of equipment. Read reviews online or ask friends for their
recommendations. Figure 8-4 shows a common access point for
outdoor use.
Some access points also include a four-port hub
for connecting other computers via Ethernet.
Since the box will be up on the pole, it will be
hard to use those extra ports, but apart from the extra size, a
combination router and access point will also work just fine.
Be careful not to get a wireless Ethernet
bridge, because they are not a complete access point. Instead,
they take a wireless signal from an access point in at one end
and convert it to Ethernet at the other. This is handy for
getting computers online that only have an Ethernet port (many
older Macintosh computers for example) or to simplify
installation.
Some access points are more reliable than
others, so be sure to search online for comments about specific
models. Physically, most brands are quite reliable, but software
quality varies a lot. Look for reports of slow downs, hangs,
reboots or spontaneous resets. Although resetting the access
point is easy enough via the PoE plug, it can be a chore to
retrieve it to reconfigure it.
Power-Over-Ethernet Adapter
You need to get power to your equipment when
it’s up on the pole. A good way to do this is to use
“Power-over-Ethernet” or PoE. This adds power directly to unused
wires in your Ethernet cable to save running a separate power
cable to your access point.
Ethernet cable is four twisted pairs, but only
two pairs are used for data. Manufacturers realized\ this years
ago and started building proprietary solutions that add power to
the unused pairs. This has the advantage of halving the number
of cables required. However, it was years before they got
together and agreed on a standard, so PoE is usually limited to
high-end commercial equipment and still isn’t often found on
consumer gear.
Now that a standard exists (802.3af ), companies
are making converters that work with consumer equipment, and
sometimes it’s possible to build your own adapter. Some
background on how it all works will help you decide on the best
solution. The challenge with sending low-voltage DC PoE cable is
that voltage drops with distance.
Also, the amount of current is restricted by the
small gauge wire used in the Ethernet cables. Search online for
“PoE calculator” and you’ll find resources like
www.gweep.net/ ~sfoskett/tech/poecalc.html
that estimate the
voltage drop.
The PoE standard sends a much higher 48 VDC
voltage over the wire. This requires less current for the same
amount of power, but the receiving equipment needs to be able to
convert the 48 VDC to something usable.
Several companies now supply solutions for their
consumer equipment. For example, D-Link makes the DWL-P100 PoE
adapter. This comes with a 48 V plug pack that runs on AC power
and is sent over the Ethernet cable to another box which
converts the 48 V back into the 5 VDC needed by the access
point.
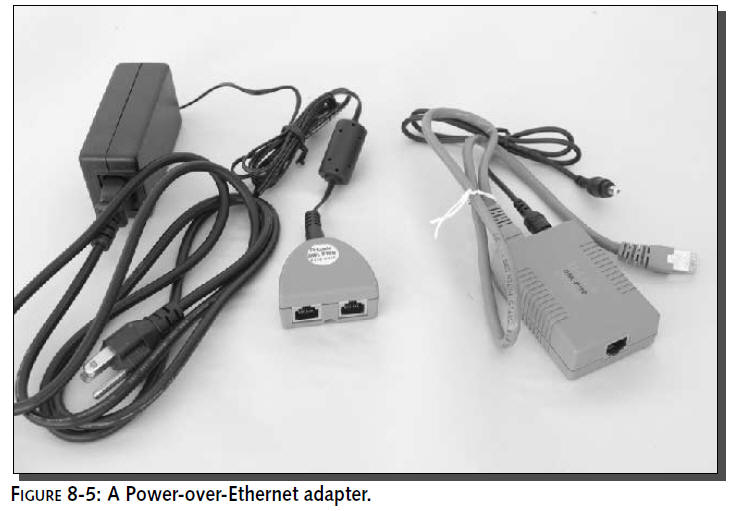
The PoE adapter shown in Figure 8-5 combines
Ethernet data and 48 VDC into a single Ethernet cable and then
splits it back to Ethernet and converts it down to 5 V at the
other end.
If the access point operates at 12 V and it’s a short Ethernet
cable, the voltage drop may be small enough to work with a
simple splitter you can build yourself. Web sites like
www.nycwireless.net/poe/ provide detailed instructions on how to
build one. Unfortunately, 5 V is generally too low for this hack
to work.
With some careful research, you could use this
same adapter with other brands’ access points. However, you need
to be sure that the output voltage matches, that the current
drawn is lower
than the adapter rating, that the power plug is
the same size, and that the plug uses the same polarity. If in
doubt, buy the access point and PoE adapter from the same
manufacturer for the specified equipment.
Waterproof Box
Your access point has to stay dry and at a
reasonable temperature to operate as expected. Finding and
building a case can be the most challenging part of this
project, especially if you don’t want to spend more on the case
than all the other equipment combined.
Your hardware manufacturer has already
determined temperature range and humidity tolerance for your
product. Check the access point’s specification sheet or product
manual for the exact tolerance.
Ultimately the local weather conditions will
dictate the type of case used. Other factors include the
ease-of-access and the expected installation lifetime.
Continuous below-freezing temperatures or snow
and ice buildup can be challenging conditions that require
special solutions including box heaters and antenna de-icing.
These are not addressed here. More information on
extreme-weather enclosures can be found online at Tessco (
www.tessco.com),
Talley (www.talleycom.com),
ElectroCom West (www.ecwest.com),
and other wireless equipment suppliers.
By far the cheapest and simplest box to work
with is a plastic food container, as shown in Figure 8-6. These
are readily available in lots of sizes. They’re easy to drill,
cut and glue, and
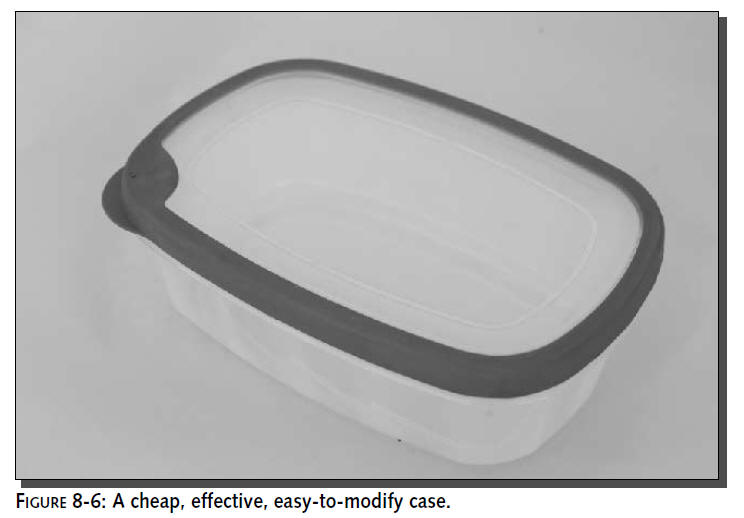
are cheap. Their main downside is they can
degrade quickly if they’re always in the sun. Don’t put one up
and expect it to last for ten years. However, in most locations
you should get a year or so before it needs replacing.
The next step up is to visit a large hardware
store, or better still an electrical supply store. They usually
stock outdoor “rainproof ” metal boxes in various sizes for
under $20 (see Figure 8-7).
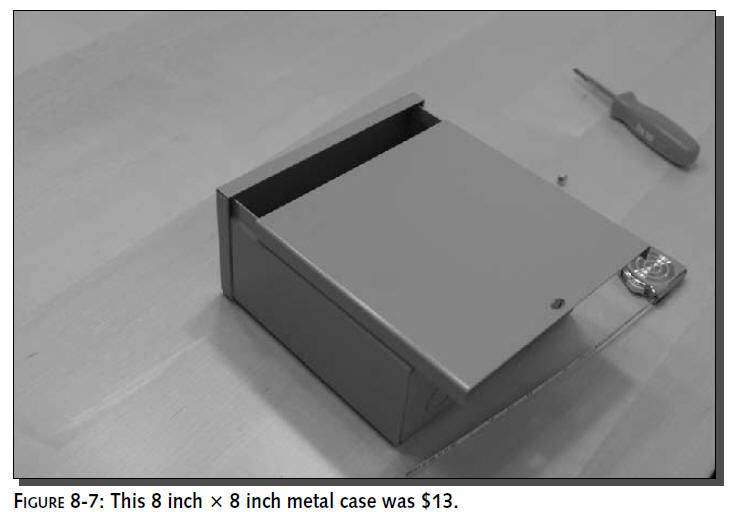
These metal cases are not completely waterproof,
but they’ll withstand most weather, especially if mounted in a
sheltered location. The metal is harder to work with than
plastic, but a metal hacksaw and sharp drill bits will solve
most modification needs.
The same stores also stock molded plastic
junction boxes designed for burying in the ground. These are
completely waterproof, and as they’re made of plastic, they’re
simple to modify. They cost 50 to 100 percent more than the
metal cases. They’re air-tight, so they may get too hot if you
seal them completely. Some bottom ventilation holes may be
needed for cooling.
Another source to explore is waterproof
equipment carrying cases used for cameras or other electronic
gear. One large manufacturer is Pelican. They have a wide range
of sizes, shapes, and colors, and are completely waterproof.
Prices are reasonable, though more expensive than junction
boxes. The cases are plastic and fairly simple to modify, though
the molded fittings and indents can complicate internal
mounting.
Last but not least, there are cases made
especially for mounting electronic equipment outdoorson poles
and walls. These usually have hinged doors, pole mounting points
for U-bolts, rubber gaskets for weather proofing, and cable
through-holes. They range in cost from $50 to $100.
There’s no single source for these as they tend
to be custom made for specific industries. Search for “wisp
outdoor enclosure” and similar to find suppliers online. (See
Chapter 9 for an example usage of one of these heavy-duty
exclosures.)
Mounting Hardware
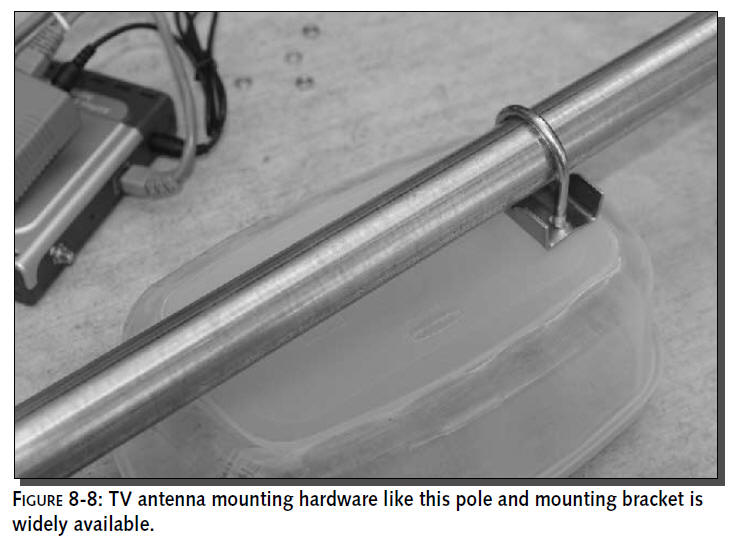
Once you’ve chosen your box, you’ll need to
figure out how to mount it to the pole or wall. A good source of
pole mounting hardware is the TV antenna section of your local
hardware or electronics store. An example is shown in Figure
8-8.
Lightning Protector and Grounding Wire
Lightning protectors provide important safety
protection for your equipment and your building. A properly
installed lightning protector should prevent a fire starting if
your equipment goes up in flames after a direct hit.
Lightning protectors are specialized equipment
like other wireless gear such as high-gain antennas and
pigtails. Some online vendors are:
www.fab-corp.com
www.pasadena.net/shop
www.hyperlinktech.com
www.wisp-router.com
www.ydi.com
Plan carefully to ensure the protector matches
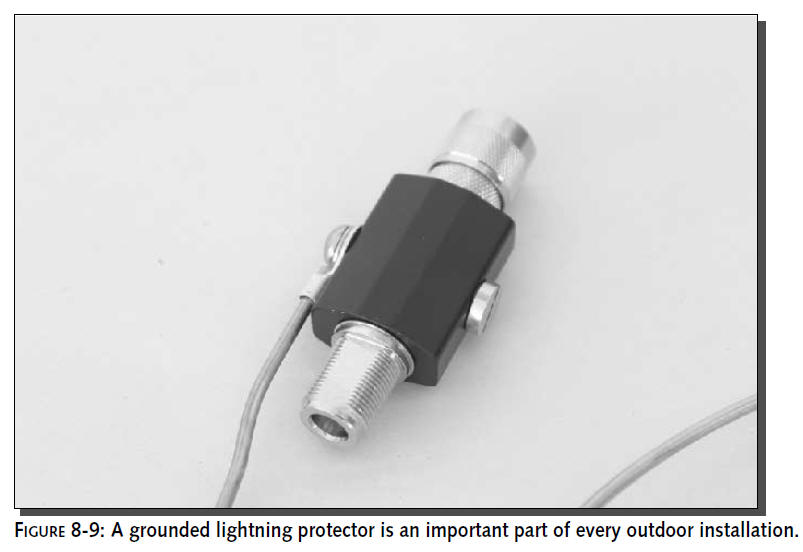
your cable and antenna connectors. A common version is N-Male to
N-Female (see Figure 8-9). It can be put inline anywhere there
is an existing N-Connector, such as your antenna.
Unless you ground the protector, though, it
won’t do much except slightly weaken your signal strength.
You’ll need 8-gauge copper wire (i.e., thick) from your local
hardware store, along with appropriate fittings. For complete
protection, this wire should run all the way to an eight foot
copper clad steel pipe driven into the ground and connected via
a special ground fitting.
This isn’t always possible or practical. In
low-lightning areas, more often the wire is taken to the nearest
copper water pipe and connected via a fitting designed for
grounding. If you have a metal case, it should be grounded too.