Final Construction and Weatherizing
This is the final stage of the coffee can
antenna project.Time to put it all together!
Step 1: Building the N-Connector
Putting this together is fairly straightforward.
The radiating element should fit inside the opening of the
N-Connector. This might be a snug fit, but that’s okay. If you
find that the radiating element will not fit properly, sand one
end of the connector using some sandpaper until the element
fits.
When the fit is snug, solder the radiating
element to the connector to make a permanent and electrically
strong connection. Soldering even a small amount will make the
difference between a great antenna and a lousy one.
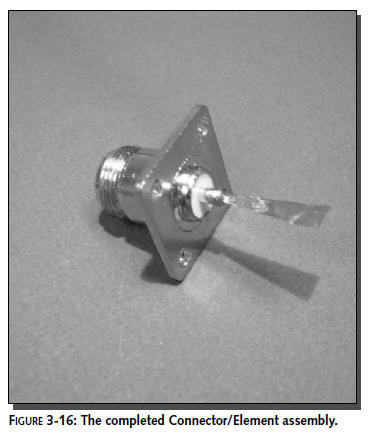
Once this is done, you should have a completed
Connector/Element assembly similar to the one shown in Figure
3-16.
Step 2: Mounting the N-Connector
You can now insert the completed assembly into
the hole you drilled in the side of the coffee can. As we
mentioned, your N-Connector might be different than the one we
used. Ours had four mounting holes. Mount the connector assembly
to the coffee can using the screws provided.
Make sure that the screws are just the right
length or only slightly longer. If they are too long and
protrude into the can more than a few millimeters, the signal
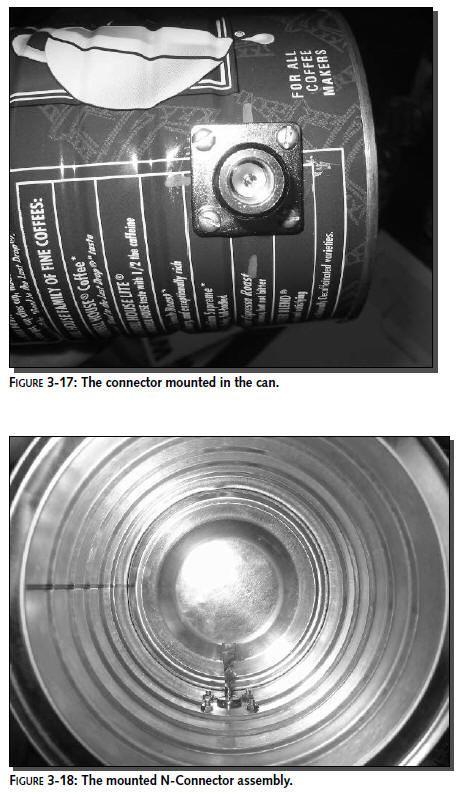
will be adversely affected. Figure 3-17 shows the connector
mounted to the can.
Also ensure that the wedge’s flat edge is
parallel to the bottom base of the can (see Figure 3-18). This
isn’t critical, but it looks better!
Step 3: Weatherizing the Antenna
Weatherizing the antenna is easy. If you plan on
using the antenna outdoors, you may want to spray paint the
exterior of the antenna with a rust proof paint.To protect the
interior of the antenna, simply cover the opening with the
original plastic cover that came with the can (you may want to
glue this cover on).
Some plastics block microwave energy. To test if
the lid to your can is microwave safe and will keep your antenna
working great, try the following: Using a standard microwave
oven, place the lid on the floor of the microwave at least 2
inches from a cup of water. Start the microwave and run it until
the water starts to boil. Carefully check the lid to see if it’s
hot or not. If it’s cool to the touch, microwave energy does not
affect the plastic and the lid is a good covering.
The cover of an antenna that keeps weather out
but does not interfere with the antenna operation or signal is
called a
radome.
In a sense, the plastic lid on your can antenna is the radome.
Neat!
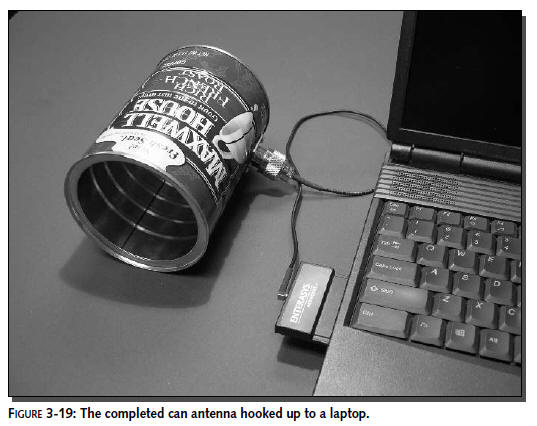
Your can antenna is now done! Now put the
antenna to use by attaching it to the cable and pigtail you
built in Chapter 1 (see Figure 3-19).