

Murmuring Merlin
Perusing the Parts List
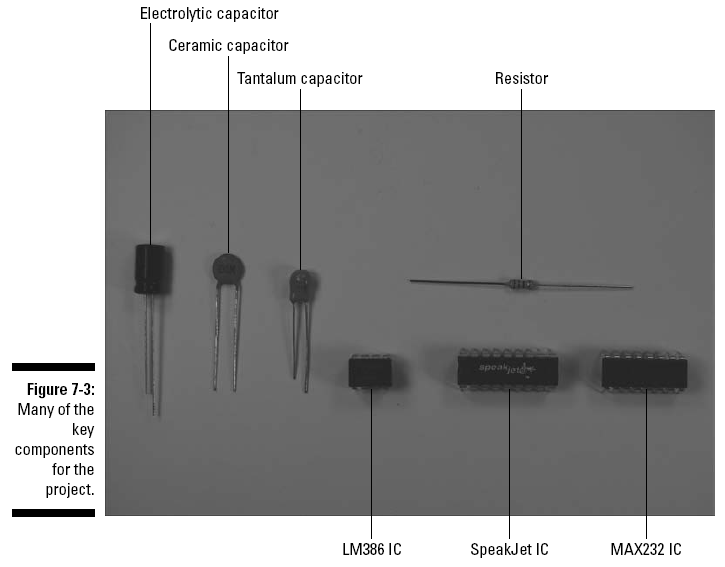
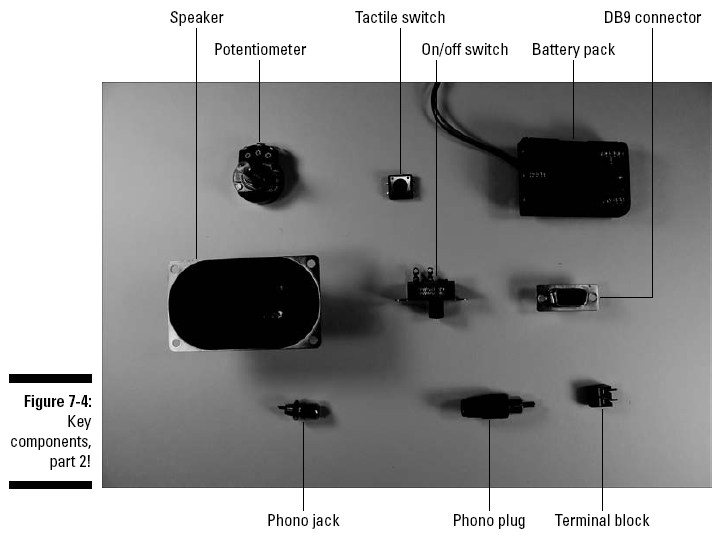
Your biggest shopping decision for this project is what to place the project in. The hand puppet idea is nice because it’s hollow and has a personality, as opposed to using just a plain wooden box. However, you could technically put the insides of the project into anything. For example, you could cut open a stuffed toy, take out the stuffing, and put the project inside. Assuming you take our route and go with a hand puppet, though, pick out one that you like with enough room to fit the electronics enclosure and with openings that allow you to place switches in the hands, face, or other areas. We found one at a local toy store made by Sunny and Co. Toys, Inc., their item #GL1902. After you choose your housing unit, shop for the parts for the project itself, several of which are shown in the upcoming Figures 7-3 and 7-4:
You can find a list of distributors on the manufacturer’s Web site,
www.speakjet.com. LM386N-1 amplifier IC3 Of the many versions of the LM386 amplifier, we chose the LM386N-1 because it works with the supply voltage of 4.5 volts used by this circuit. MAX232 driver/receiver IC2 SPST (single-pole, single-throw) slide switch, used as the on/off switch 830-contact breadboard Eight 2-pin terminal blocks Knob (for potentiometer) 8 ohm, 1 watt speaker Three tactile switches (S1, S2, S3) Many of these tactical switches are very small; for example, a 6 mm × 6 mm switch is less than 1⁄4" square. We bought 12 mm × 12 mm switches (part #TS6424T2602AC) made by Mountain Switch at Mouser (www.mouser.com). Enclosure We used Radio Shack part #270-10807. Six phono plugs Six phono jacks DB9 female connectorThere are about as many DB9 connecters out there as there are fish in the sea. We used RadioShack part #276-1538.
DB9 serial port cable Four 1⁄2" 6-32 flathead screws Four 6-32 nuts An assortment of different lengths of prestripped, short 22 AWG wire