Hooking up the puppet
Merlin is just bursting to have his say at this
point, so it’s time to take the final steps to activate the newly
loquacious puppet.
Making sounds
We know you’re the inquiring kind who will want to
program custom phrases before long, so here’s an overview of the process
to get you started:
1. Open the EEPROM Editor screen.
2. Select the check box for the Phrase# that you wish
to use for a custom sound.
3. In the Phrase Editor screen that opens, select the
sounds that you wish to include in a phrase.
Be sure to check out words available from the library.
4. After you make a custom
phrase, click Done in the bottom right of the screen.
This takes you back to the EEPROM Editor screen, where you can see that
the selected sounds have been added to the phrase.
5. Close the EEPROM Editor screen and open the Event
Configuration screen.
6. Enter the phrase number that you created in the
Phrase# to Play box for one of the input #s.
See the nearby
table to see how input numbers correspond to pin numbers.
7. Connect the serial cable and then click the Write
Data to SpeakJet button to program the chip.
Follow these steps to hook up and operate the puppet:
1. Plug the phono plugs from one of the tactile
switches into the box and press the switch.
If the sound is too soft or too loud, adjust the potentiometer to get
the sound level right.
2. Unplug the phono plugs and insert the electronics
box in the puppet, taking care not to move the tactile switches out of
position.
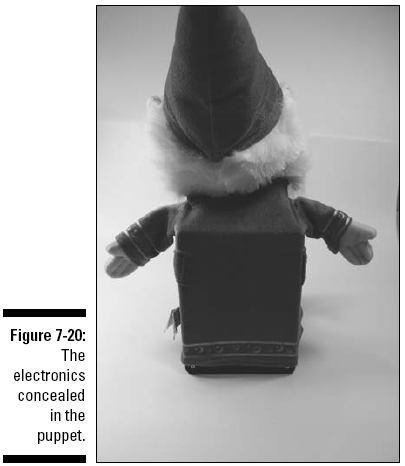
3. Insert each phono plug in a phono jack and tuck
the wires out of site, as shown in Figure 7-20.